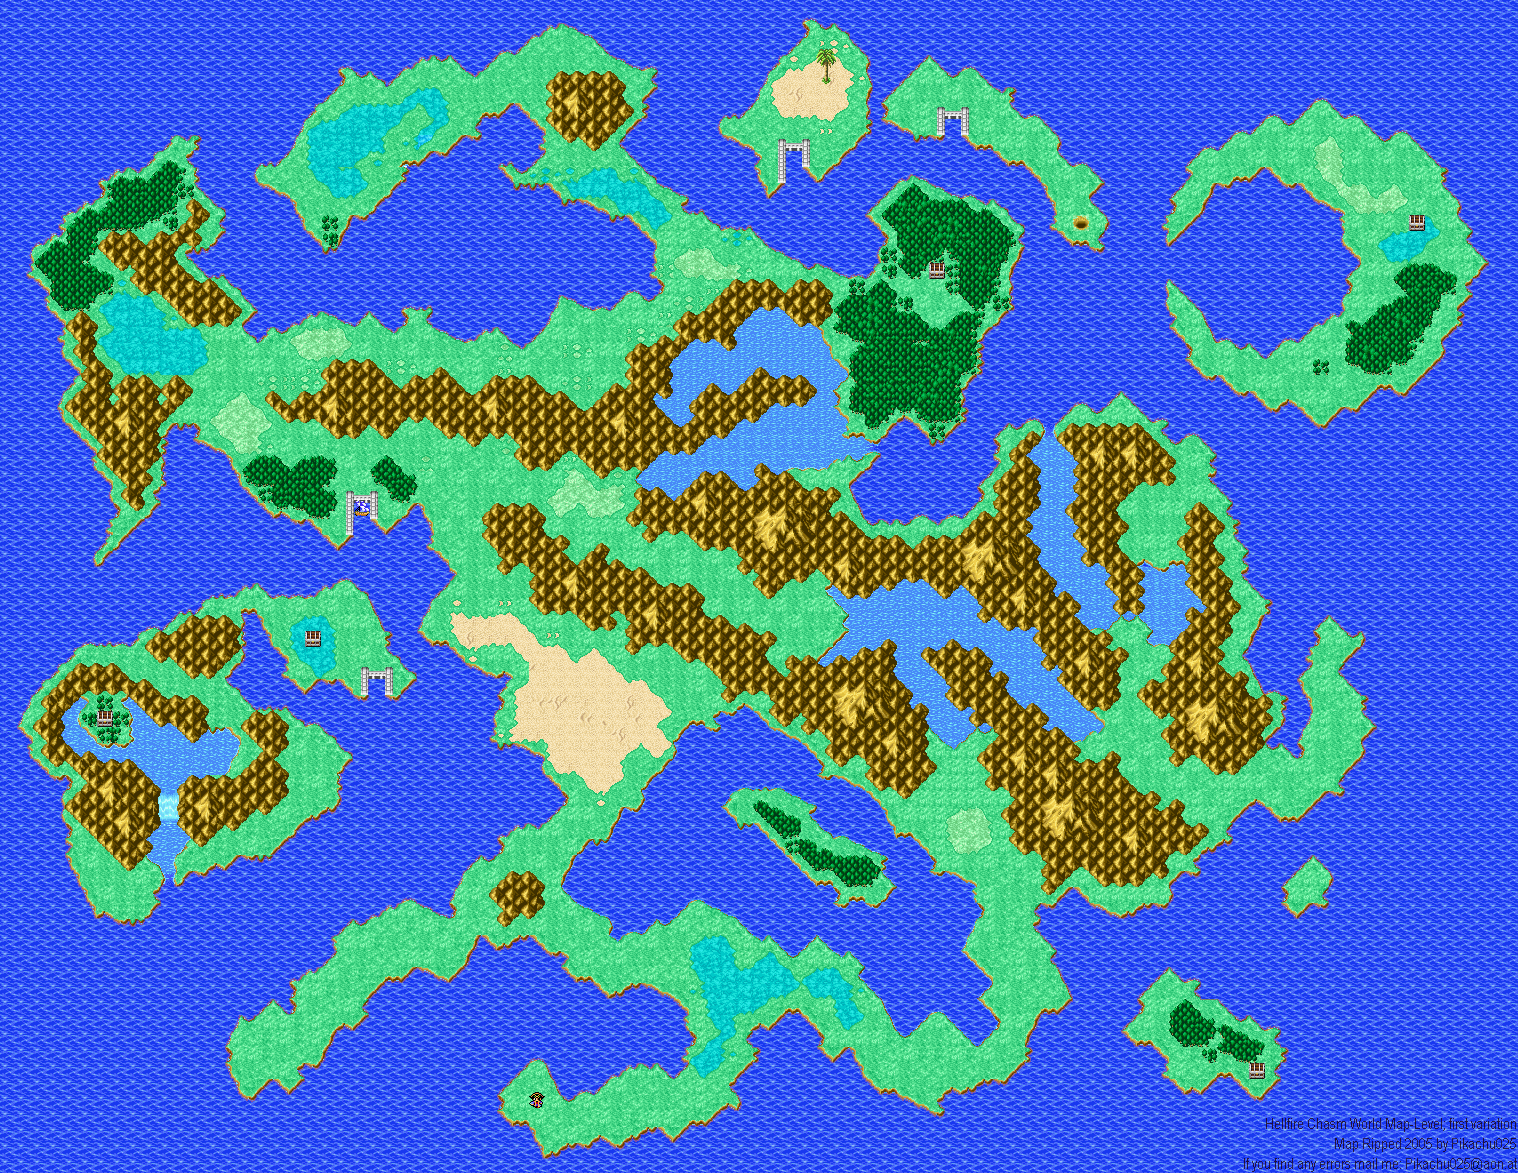
This time we will be taking on the Hellfire Chasm! It is located among the Cardia Islands, which also contain the Dragon Caves. It's on the island that is covered mostly in marsh (blue-green colour).

Statue: The statue radiates a searing heat...
After Marilith: The heat surrounding the door is gone! But now that our price has become king, no one is likely to enter any time soon.
Recommended Level
40+
Dangerous Enemies
Catoblepas - Its Gaze can turn you to stone, and it also has an instant-kill attack
Noteable Floors

Populated Cave
I hope you're not in a hurry, because this floor is going to really tick you off. There are NPC's all over the place wandering back and forth in a fixed line that will constantly be in your way. If you go around them you will have to tread on sparkling parts of the floor which will cause you to encounter enemies every single step. If you block someone from completing their walking pattern, they will never turn around. You have to approach them from the right side at the right time.

This floor is covered in bats which will get in your way, plus you will constantly be taking damage because of the extreme heat throughout the area. The area is also filled with Catoblepas enemies. Collect the treasure if you've got a good supply of healing items, otherwise just hurry to the stairs in the northeast corner.

Explanation:
There are three variations of this map, which is why I found pictures of them on google and posted them below (images belong to source found on the pictures themselves). All follow the same format; Find ship, use ship to locate the pirate Thule, speak to him, find a desert with a palm tree, inspect the tree to raise an airship, use the airship to find the exit. And yes, you absolutely must talk to the pirate every single time, or the airship will never appear.
First
Second
Third
Simple FloorsBlue Cave x1
Volcano Floor x4
A couple of these are somewhat tricky to navigate, write down which directions you've already gone if you want to get through here quickly. There is lava on all these floors.
Boss Floor (5F)

Northern Room: Scarmiglione
Cast NulShock or use a Blue Curtain to block his Thunder magic, then buff up your fighters. He should go down in a couple turns, but don't think you can relax.

You're in for a difficult battle here. Scarmiglione's second form has the attack Poison Breath which can easily take 400 HP off your entire party. Since it's non-elemental, there's no Nul magic you can use to ward against it, so just buff up your fighters and cast Healaga every single turn. If you're a decent level (around 45) and have the best armor and a couple Ribbons, you should pull through.
Reward: Lunar Curtain

You're just in time, my little playmates... I get so lonely here... Won't you keep me company?
Southern Room: Cagnazzo
If you have them, cast Protera and Invisira on your party members. You can silence him, but he will still be able to use his special ability Tsunami which will take nearly 300 hp off your entire party. As always, buff up your attackers with Temper and Haste. According the bestiary, he has no resistance to sleep, paralysis, confusion or darkness, but I couldn't get a single one of those to stick on him even once. He is weak to Lightning, however.
Reward: Light Curtain
Boss Floor (10F)

Western Room: Rubicante
There's something else I prefer to call this guy, though I won't post it here because I like to keep this blog as PG as possible. He's the most dangerous boss in this dungeon, but as with the others you should be able to pull through somewhat easily if you are a decent level and prepare accordingly.
Hopefully you will have picked up a red curtain at some point, but if not you can use the NulBlaze spell (available in Elfheim). I recommend using both however - the effects won't stack, but it is very important to get your defenses up before he makes his first strike. He has no weaknesses but is resistant to Quake, Fire, Ice, Time, Stone, Poison, and Death. Note he possesses no resistance to Lightning. After you cast NulBlaze you may also want to use Protera because his physical attack is pretty strong. The trick is finding the time to do this, as you will need to be healing constantly. His Blaze attack will take 400 HP off a single party member (200 with NulBlaze) and he also knows Fira and Firaga. Use Healaga constantly and buff up your physical attackers as usual.
The chest beside him (which you can only access after his defeat) contains a Ribbon.
Reward: Kikuichimonji (Light Sword)

Eastern Room: Barbariccia
Cast Protera right away, and after that focus on casting Healaga and attacking. Her Cyclone attack will hit your entire party for 300~ HP and is non-elemental so you have no way of raising your resistance. She also has an attack called Ray which will attempt to turn one of your party members to stone. Again, these boss battles give no experience so if someone gets petrified just try to keep going the best you can, though you can certainly heal them if you're doing well on hp. She is resistant to Lightning and the other usual stuff, but not Ice or Fire so make your moves accordingly. I suppose I don't need to mention that most of the damage will be dealt by your physical attackers... but there, I did it anyway.
Reward: Braveheart (Heavy Sword)
No comments:
Post a Comment